You’ve picked your panels. You’ve sized your battery bank. You’re ready to get to work — and then someone mentions permits. Suddenly the whole project feels like it’s buried under a mountain of paperwork. Here’s the good news: solar permitting is not nearly as bad as its reputation, and most rejections are caused by a handful of completely avoidable mistakes. This guide walks you through exactly what you need, step by step, so you can get approved and get installing.
Do You Actually Need a Permit?
The short answer: almost certainly yes — but the details depend on your setup.
The main factor is whether your system connects to the electrical grid. Any grid-tied system requires approval from your utility company, plus a building permit from your municipality. This is not just bureaucracy — it’s a safety requirement that protects utility workers and your neighbors. The moment your system can push electricity back into the grid, it falls under the oversight of your local Authority Having Jurisdiction (AHJ) and your utility.
Here’s a quick breakdown by system type:
- Grid-tied systems: Always require a building permit and a utility interconnection agreement. No exceptions.
- Hybrid systems (grid + battery): Same as grid-tied, plus additional documentation for the battery storage — including battery layout diagrams and updated load calculations.
- Fully off-grid systems: Usually no utility interconnection needed, but a building permit is still required in most municipalities for any permanent roof-mounted installation.
- Small portable kits: Camping systems and portable power stations that don’t connect to your home’s wiring generally don’t need permits. But if it’s permanent and attached to your home — even through a wall outlet — check your local rules first.
Bottom line: If it’s going on your roof and connecting to anything, pull the permit. Installing without one can mean forced removal, fines, and being locked out of utility net metering programs.
The Two Permits You’ll Need
Most DIY solar homeowners need to deal with two separate approvals:
1. The Building Permit
Issued by your local city or county building department, this confirms your installation is structurally sound and meets local building codes. You’ll submit a plan set — essentially a package of documents showing exactly how your system is designed and where it’s going. More on what goes in that package below.
2. The Utility Interconnection Agreement
This is the contract with your utility company that grants you permission to connect your solar system to the grid. It covers the technical and safety requirements your system must meet. In 2026, many utilities — especially in California, Texas, and New England — now require your interconnection application number to appear on your permit plan set before the building department will even approve it. So start the interconnection application early, not after you’ve got your building permit.
The 6-Step Solar Permit Process
The process is the same in most jurisdictions, even if the specific requirements vary:
- System Design — Finalize your panel layout, equipment specs, and electrical design. This becomes the basis for your permit documents.
- Application Submission — Submit your plan set to your local building department, along with any required fees. Many jurisdictions now accept digital submissions.
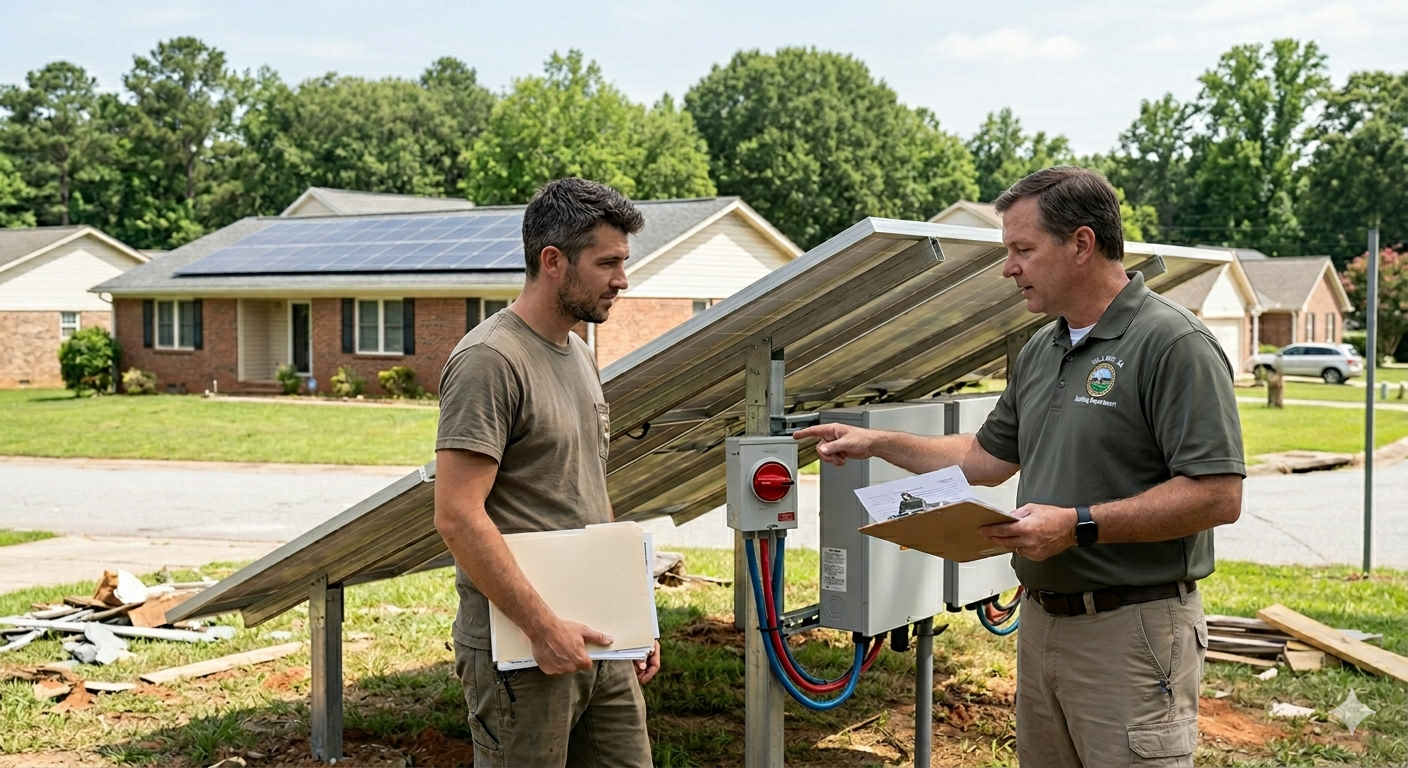
- Review and Approval — The AHJ reviews your plans for code compliance. This can take anywhere from a few days to several weeks depending on your municipality.
- Installation — Once approved, you can begin installing. Keep your permit posted on-site (or accessible digitally) during the work.
- Inspection — A building inspector visits to verify the installation matches your approved plans. This is usually quick if your work is clean and documented.
- Permission to Operate (PTO) — Your utility gives final sign-off to energize the system and connect to the grid. Don’t skip this step — running a grid-tied system without PTO can get your meter pulled.
What Goes in Your Permit Plan Set
This is where most DIY applications fall apart. Your plan set needs to be complete and accurate — reviewers will reject incomplete packages, and every rejection costs you time and sometimes money. Here’s what a solid plan set includes:
- Site plan — A top-down view of your property showing panel placement on the roof, setbacks, and fire access pathways. Most jurisdictions require at least a 3-foot clear pathway on the roof for fire access.
- Single-line diagram (SLD) — An electrical schematic showing the flow from your panels through the charge controller or inverter, to your main panel and the grid. Every component needs to be labeled correctly.
- Equipment spec sheets — Current datasheets for your panels, inverter, racking system, and battery (if applicable). Don’t use outdated sheets — reviewers will flag them.
- Structural documentation — Proof that your roof can handle the added weight of the array. In some jurisdictions this requires a stamped engineering report.
- Title block on every page — Project address, designer name, date, revision number, and applicable code references (NEC 2023, IBC 2021, local amendments). Missing title block info is one of the top five reasons for rejection.
- Battery documentation (if applicable) — Separate layout diagrams, NEC 706 references, and updated load calculations for any storage system.
Expedited Permitting: The Good News
Here’s something that has genuinely improved in 2026: many states have pushed through expedited permitting programs for residential DIY solar. A few worth knowing about:
- SolarAPP+ — A federally-backed online tool used by hundreds of municipalities that can issue automated permit approvals for straightforward residential systems, often same-day.
- NYS Unified Solar Permit — For New York homeowners outside the five boroughs, this provides a streamlined path for systems up to 25 kW DC, with permit decisions required within 14 calendar days.
- California’s Solar Permitting Guidebook — A standardized framework that many California jurisdictions follow, though requirements still vary by city and county.
Before you assume your jurisdiction is slow, check whether they use SolarAPP+ or a similar expedited program. You might be pleasantly surprised.
Dealing With Your HOA
If you live in a neighborhood with a Homeowners Association, you may face an additional layer of review. HOAs can — and do — place restrictions on solar installations, typically around aesthetics and panel placement. However, there’s an important protection you should know about: most states now have solar access laws that override overly restrictive HOA rules. If your HOA is pushing back unreasonably, look up your state’s solar rights legislation before assuming they have the final word. In most cases, they don’t.
Common HOA requirements that are usually reasonable: panels must not be visible from the street, or must match roof color. Common HOA restrictions that solar access laws override: outright bans on solar, or requirements that make installation economically impractical.
The Most Common Reasons Permits Get Rejected
Save yourself weeks of delay by avoiding these mistakes upfront:
- Inaccurate or mismatched drawings — If your site plan and electrical diagram show different things, it gets rejected immediately.
- Wrong wire sizing or breaker ratings — Electrical reviewers check conductor and overcurrent protection device sizing against NEC 690/705. Get this wrong and it comes back.
- Missing fire access pathways — Failing to show the required rooftop clearances for fire department access is one of the most common rejections.
- Outdated equipment spec sheets — Always download fresh datasheets from the manufacturer’s website before submitting.
- Missing interconnection application number — In states that require it, your plan set must reference your utility interconnection application. Start that process early.
- No title block — It seems minor, but AHJ reviewers are required to log this info. If it’s not there, the whole package goes back.
Tips for Getting Approved Faster
A few practical things that make a real difference:
- Call your building department before you submit. A 10-minute conversation can tell you exactly what your local AHJ wants to see, saving you a rejection cycle.
- Check whether your jurisdiction uses SolarAPP+. If they do, a compliant system design can get same-day approval.
- Start the utility interconnection application first. Don’t wait until after you have your building permit — do both in parallel.
- Use current equipment spec sheets. Download them fresh. Reviewers recognize outdated datasheets.
- Photograph everything during installation. Inspectors appreciate documentation, and photos can resolve disputes about what was installed before drywall goes up.
Final Thoughts: Permits Protect Your Investment
It’s tempting to view the permit process as red tape standing between you and free solar energy. But a permitted system is protected. It qualifies for state incentives and net metering programs. It won’t get flagged when you sell your home. And it won’t create liability issues if something goes wrong.
The permit process in 2026 is genuinely faster than it was a few years ago, especially in states that have embraced expedited programs. Prepare a complete, accurate plan set, start your utility interconnection application early, and check whether your municipality uses SolarAPP+. Do those three things and most DIYers find the process far less painful than they expected.
Have questions about permitting in your specific state, or run into a tricky HOA situation? Drop a comment below — we’ve been through it and we’re happy to help.
Related posts you might like:
→ DIY Solar Battery Backup Kits: What’s Worth It in 2026
→ N-Type Monocrystalline Panels: Are They Worth the Upgrade?
→ LiFePO4 vs. Other Battery Chemistries: The Full Breakdown