How to Add More Batteries to Your Off-Grid Solar System (Beginner’s Guide)
Adding more batteries to your off-grid solar system is a smart way to increase your storage capacity. Whether you’re running out of power at night or just want a larger energy reserve, this guide will walk you through everything you need to know—step by step.
⚠️ Quick Warning Before We Start
- Wear protective gear
- Use insulated tools
- Double-check voltage and polarity
- Follow battery manufacturer guidelines
🔋 Why Add More Batteries?
Adding more batteries increases your system’s usable energy capacity. That means:
- Longer runtime for your devices
- More backup during cloudy days
- Less strain on individual batteries
Example: One 100Ah 12V battery = ~1.2kWh usable. Add another and you double to ~2.4kWh.
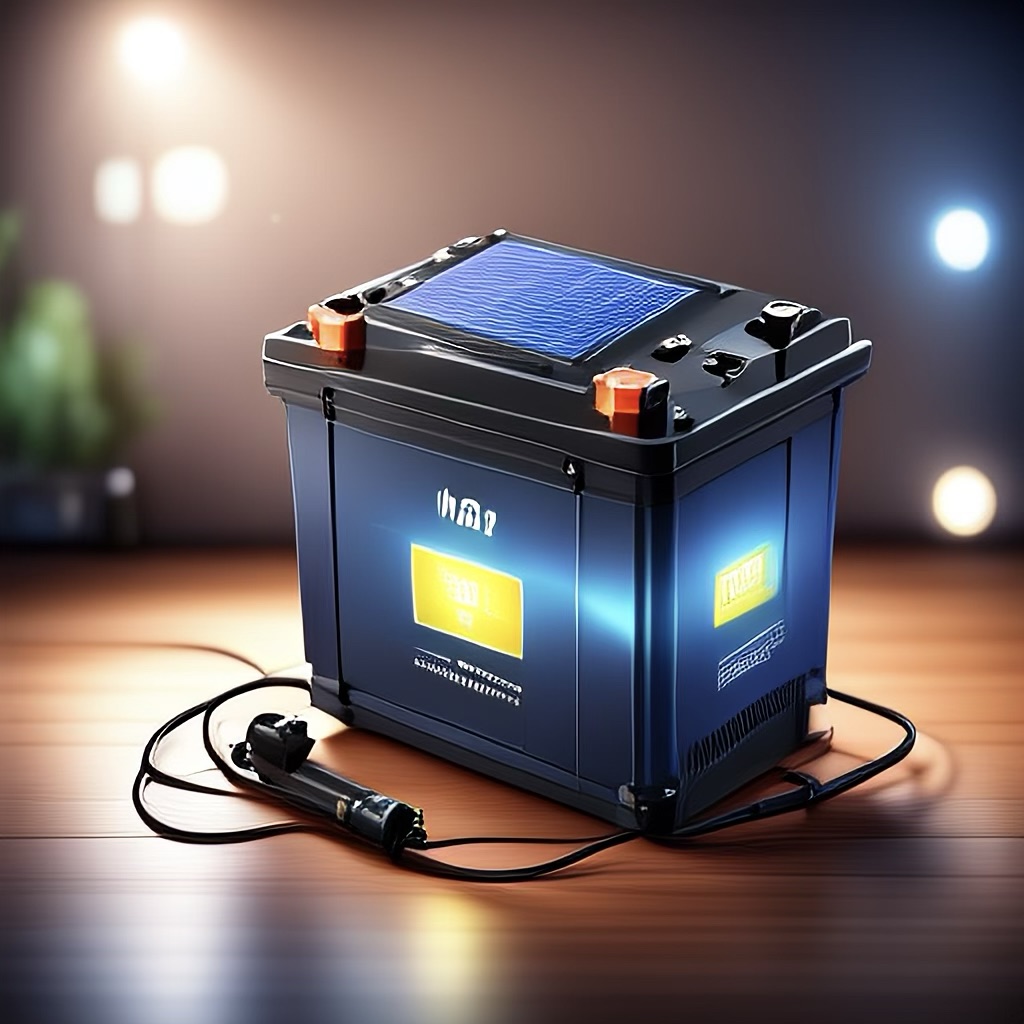
🧰 What You’ll Need
- Compatible battery (same voltage, similar chemistry/capacity)
- Battery cables (correct gauge)
- Battery terminal connectors
- Fuse or circuit breaker (recommended)
- Wrench or battery tool
- Volt meter / multimeter
🔌 Step 1: Choose the Right Battery
Match the following:
- Voltage: Must match (e.g. 12V with 12V)
- Type: Don’t mix lithium with lead-acid
- Capacity (Ah): Should be close or equal
- Age/Health: Ideally same age and cycle life
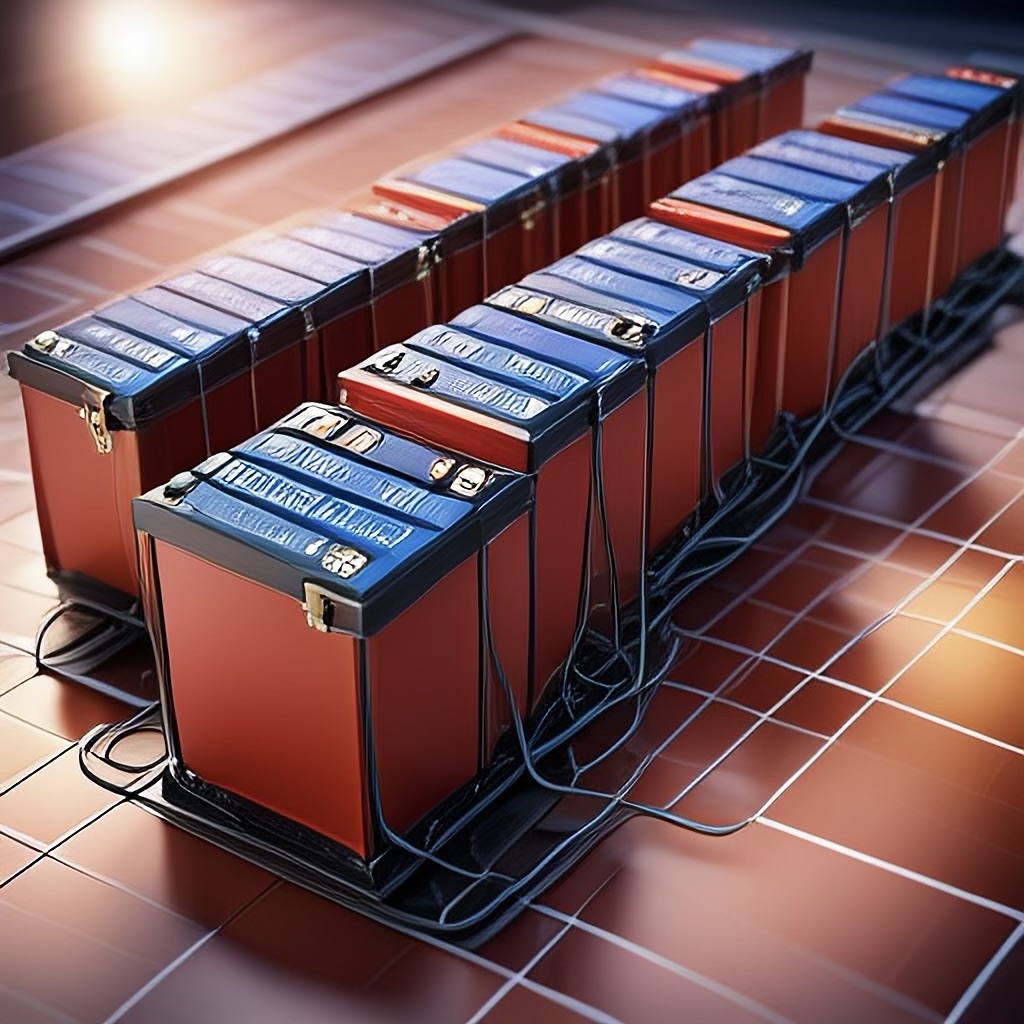
🔧 Step 2: Choose Parallel or Series Connection
🔋 Parallel = More Capacity, Same Voltage
Connect positive to positive, negative to negative
12V, 100Ah
🔴➖🔵
12V, 100Ah
🔴➖🔵
Result: 12V, 200Ah
🔋 Series = More Voltage, Same Capacity
Connect positive of one to negative of next
12V, 100Ah
🔴➖🔵
12V, 100Ah
🔴➖🔵
Result: 24V, 100Ah
Important: Never mix series and parallel without a proper battery management setup.
🧷 Step 3: Use a Fuse or Breaker
Install a fuse or DC breaker between each battery and the system to protect against:
- Short circuits
- Overcurrent damage
- Fire risk
Recommended fuse size: 1.25× the max current you expect to draw
🧪 Step 4: Test Voltage Before Connecting
- Each battery’s voltage (should be within 0.1V of each other)
- Final pack voltage after wiring
If batteries are too far apart in voltage, charge them individually before combining.
🧰 Step 5: Connect to the System
- Connect the main positive and negative to your inverter or charge controller
- Ensure wiring is correct and tight
- Monitor performance for the first few cycles
🔋 How Much Power Can You Expect?
| Battery Bank | Usable Capacity* | Run Time for 100W Load |
|---|---|---|
| 12V 100Ah | 600Wh | 6 hours |
| 12V 200Ah | 1200Wh | 12 hours |
| 24V 200Ah | 2400Wh | 24 hours |
*Assumes 50% depth of discharge. LiFePO₄ batteries may allow up to 90% usable capacity.
✅ Final Tips for Success
- Balance batteries regularly (especially lead-acid)
- Use a Battery Monitor (like Victron BMV-712 or shunt meters)
- Add batteries in pairs if possible
- Charge your new setup fully after wiring
📘 Related Posts:
- How to Set Up a 12V Off-Grid Solar System for Beginners
- How to Power Your Devices from a 12V Solar System