How to Build a Low-Cost DIY Solar Setup for Emergency Backup Power
Power outages can strike at any time, leaving your home without electricity for hours or even days during blackouts or natural disasters. While whole-home solar systems can cost tens of thousands of dollars, you can build a basic DIY emergency backup setup for under $500–$800 that provides peace of mind and keeps essential devices running when you need them most.
What This System Can Power
It’s important to set realistic expectations for your DIY solar backup system. While this setup won’t power your entire house, it can provide reliable energy for small, critical loads during emergencies. A typical 400-watt system can handle:
- LED lights for multiple rooms
- Cell phones, tablets, and laptop charging
- Small fans or USB-powered devices
- Wi-Fi router to stay connected
- Small TV or radio for news updates
- CPAP machines or medical equipment (check power requirements first)
- Mini fridge or chest freezer running intermittently
- Small power tools for emergency repairs
This system focuses on keeping you comfortable, connected, and safe rather than maintaining normal household operations.
Essential Components You’ll Need
Solar Panels (200–400 Watts Total)
Start with two 100-watt monocrystalline solar panels, typically costing $80–$120 each. Monocrystalline panels offer better efficiency and space-saving benefits compared to polycrystalline alternatives. Look for panels with MC4 connectors and solid warranties from reputable manufacturers.
Charge Controller
Your charge controller prevents battery overcharge and damage. For basic setups, a 30-amp PWM controller costs $25–$40 and works reliably. If your budget allows, upgrade to a 40-amp MPPT controller ($60–$100) for 20–30% better charging efficiency, especially on cloudy days.
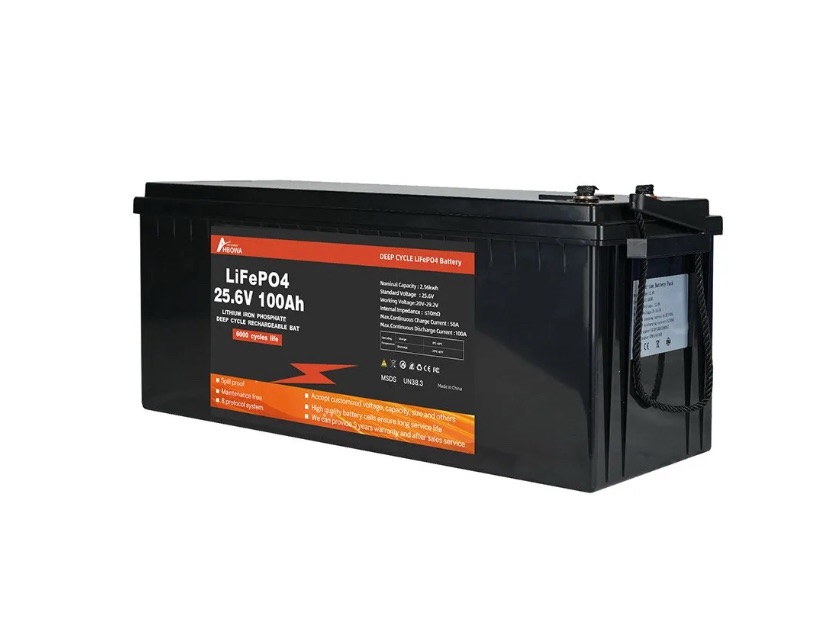
Deep Cycle Batteries
Two 100Ah deep cycle batteries form your system’s energy storage core. AGM batteries ($150–$200 each) require no maintenance and handle temperature variations well. Flooded lead-acid batteries cost less ($80–$120 each) but need regular water additions and proper ventilation. Lithium batteries ($300–$500 each) offer the best performance and longevity but require a higher upfront investment.
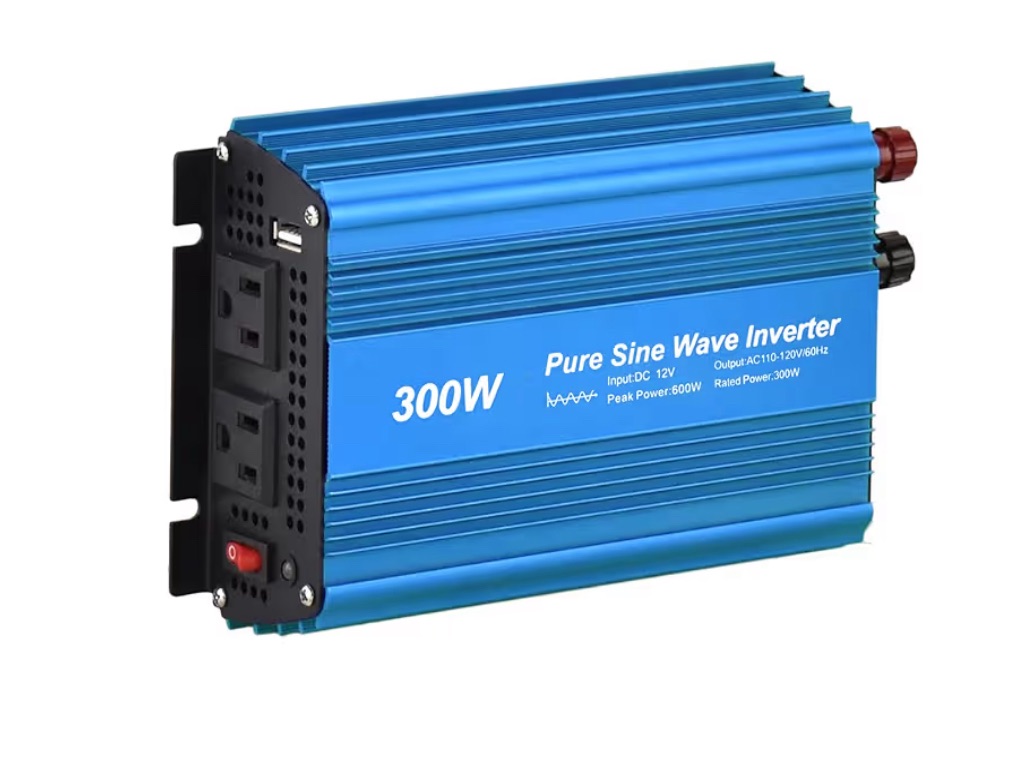
Power Inverter
A 1000-watt pure sine wave inverter ($100–$150) converts your 12V DC battery power to standard 120V AC household current. Pure sine wave inverters cost more than modified sine wave models but protect sensitive electronics and run more efficiently.
Wiring and Safety Components
Budget $50–$75 for essential components including 12 AWG PV wire, MC4 connectors, 4 AWG battery cables, inline fuses, circuit breakers, and power strips. Don’t forget a battery monitor to track voltage and state of charge, preventing costly deep discharge damage.
Step-by-Step Assembly Guide
Step 1: Plan Your Setup
Choose a sunny location for your panels, ideally south-facing with 6–8 hours of direct sunlight daily. Rooftop installations, ground mounts, or portable setups all work well. Place batteries in a cool, dry space like a garage or basement. Lay out your components on a plywood board or panel for easy mounting, access, and future troubleshooting.
Step 2: Install the Charge Controller
Mount your charge controller near the battery bank on a wall or mounting board. Always connect battery terminals first—negative terminal first, then positive—before connecting solar panels. This sequence prevents sparks and protects the controller’s sensitive electronics.
Step 3: Connect the Solar Panels
Wire your solar panels in parallel to maintain 12V output while doubling your current capacity. Use MC4 connectors for weatherproof connections and install inline fuses between the panels and charge controller. Run appropriately sized wire from panels to the controller’s solar input terminals.
Step 4: Wire the Inverter
Connect your inverter directly to the battery bank using thick 4 AWG cables or larger. Install fuses on both the positive battery terminal and inverter input to protect against short circuits. Keep cable lengths as short as possible to minimize voltage drop and power loss.
Step 5: Add Monitoring and Safety Features
Install a battery monitor to track voltage, current draw, and state of charge. This prevents over-discharging, which permanently damages batteries. Add circuit breakers or fuses at key connection points: panel-to-controller, controller-to-battery, and battery-to-inverter. Keep all wiring neat, labeled, and easily accessible for maintenance.
Critical Safety Considerations
Safety should be your top priority when working with electrical systems. Always wear safety glasses and insulated gloves when handling batteries or making connections. Install proper fuses and circuit breakers at every major connection point to prevent fires from short circuits or overloads.
Ensure adequate ventilation for your batteries, especially flooded lead-acid types that produce hydrogen gas during charging. Never smoke or use open flames near batteries. Turn off all power sources before making wiring connections or performing maintenance.
Avoid working on electrical systems during storms or wet conditions. If you’re not comfortable with electrical work or local codes require it, hire a qualified electrician for installation and inspection.
Maximizing System Performance
Position your solar panels to avoid shade throughout the day, as even partial shading can dramatically reduce total system output. Clean panels monthly with soap and water to maintain peak efficiency. In dusty or pollen-heavy areas, more frequent cleaning may be necessary.
Use energy-efficient devices whenever possible. LED lights consume 90% less power than traditional incandescent bulbs. Unplug devices when not in use, as many electronics draw “phantom loads” even when switched off. Track your energy consumption and prioritize essential loads during extended outages.
Check battery terminals monthly for corrosion and clean with baking soda solution as needed. Maintain proper electrolyte levels in flooded batteries and perform equalization charges quarterly to extend battery life.
Smart Expansion Ideas
Start with this basic system and expand as your needs and budget grow. Additional solar panels and batteries can be added in parallel to increase both charging capacity and energy storage. Consider upgrading to an MPPT charge controller for better efficiency as your system grows.
Advanced users might add automatic transfer switches for seamless backup power integration, or combine solar with a backup generator for hybrid systems that handle extended cloudy periods. Smart load controllers can automatically prioritize critical devices when battery levels drop.
Realistic Cost Breakdown
Here’s what you can expect to spend on a basic 400-watt emergency backup system:
- Solar Panels (2 × 100W): $200
- Charge Controller (30A PWM): $35
- Batteries (2 × 100Ah AGM): $350
- Inverter (1000W Pure Sine Wave): $125
- Wiring & Safety Components: $65
- Total System Cost: ~$775
Costs can be significantly reduced by shopping sales, buying used components, or purchasing complete kits. Many online retailers offer bundles that include everything needed at discounted prices.
Long-Term Maintenance and Expectations
With proper care and maintenance, your DIY solar system will provide years of reliable emergency backup power. Solar panels typically last 25+ years with minimal degradation. Charge controllers generally operate trouble-free for 10–15 years. Battery life varies significantly by type and usage: flooded lead-acid batteries last 3–5 years, AGM batteries 4–8 years, and lithium batteries 10+ years.
Perform monthly system checks including battery voltage testing, connection inspections, and cleaning. Keep detailed performance records to identify problems early. Replace components proactively rather than waiting for complete failure during an emergency.
Understanding Local Requirements
Before beginning your project, research local building codes and permitting requirements. Some areas require permits even for portable solar installations or systems under certain wattage thresholds. Homeowners associations may have restrictions on visible solar panels.
Contact your local building department early in the planning process. Many jurisdictions offer expedited permitting for small emergency backup systems, and some provide rebates or tax incentives for renewable energy installations.
Final Thoughts
Building a DIY solar backup system is an achievable and empowering project that provides energy independence during emergencies. This basic setup keeps essential systems running and maintains communication capabilities when the grid fails. Start with these fundamentals and expand your system gradually as experience and budget allow.
Remember that even a small solar backup system can make the difference between comfort and hardship during extended power outages. The peace of mind knowing your family has reliable backup power makes this investment worthwhile. With careful planning, quality components, and proper installation, your DIY solar system will serve you reliably for many years to come.