DIY 48V Off-Grid Solar System Setup (Beginner-Friendly Guide)
Setting up a 48V off-grid solar system might seem intimidating, but with the right components and a bit of planning, it’s totally doable—even for DIYers. In this guide, I’ll walk you step-by-step through designing and installing your own 48V system for cabins, homes, or workshops.
⚡ Why Choose a 48V System?
| Benefit | Why It Matters |
|---|---|
| 🔋 Higher Efficiency | Lower current = thinner cables and less heat loss |
| 🔧 Modern Compatibility | Works well with lithium batteries and newer inverters |
| 🧰 Scalable | Easier to expand as your energy needs grow |
🧰 What You’ll Need
| Component | Description |
|---|---|
| Solar Panels | PV panels totaling your desired wattage (e.g., 4000W) |
| Charge Controller | MPPT rated for 48V (e.g., 150V/60A or higher) |
| Battery Bank | 48V lithium (LiFePO₄) or four 12V in series |
| Inverter | 48V inverter/charger (pure sine wave preferred) |
| Wiring & Breakers | Appropriately rated DC/AC wires, fuses, breakers |
| Mounting Hardware | Roof or ground-mount racking |
| Monitoring Tools | Battery monitors, Bluetooth apps, etc. |
🗺️ Step 1: Plan Your Power Needs
Start by estimating your daily energy use.
🧮 Example Load Estimate:
| Appliance | Power (W) | Hours/Day | Total (Wh/Day) |
|---|---|---|---|
| Fridge | 150W | 24h | 3,600Wh |
| Lights | 200W | 5h | 1,000Wh |
| Laptop | 50W | 6h | 300Wh |
| Total | ~4,900Wh | ||
➡️ Battery Sizing for 3 Days Autonomy:
With 80% depth of discharge:
15,000Wh = 15kWh battery bank
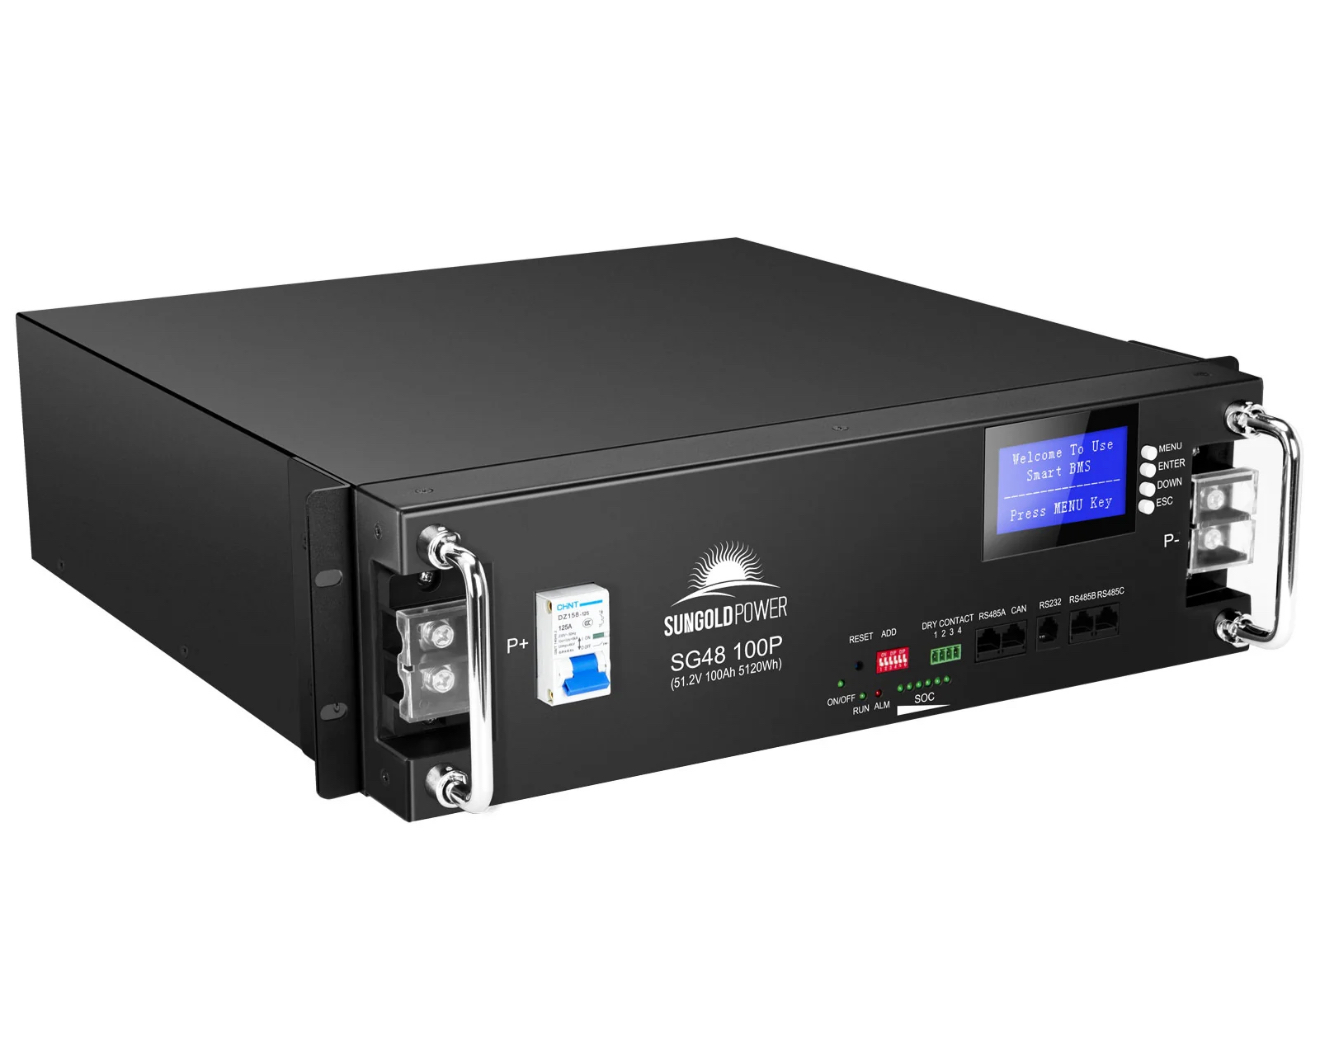
🔋 Step 2: Size Your Battery Bank
For 48V systems, LiFePO₄ batteries are ideal.
Options:
- ✅ Pre-built 48V batteries (e.g., EG4 14.3kWh, Eco-Worthy 100Ah)
- ✅ Connect 4 × 12V batteries in series
🔌 Pro Tip: Choose batteries with a built-in Battery Management System (BMS).
☀️ Step 3: Choose & Wire Your Solar Panels
Ensure your array voltage is compatible with your MPPT charge controller.
🔧 Example Wiring Setup:
- 10 × 400W panels (40V, 10A each)
- 2 strings of 5 panels in series → 200V @ 10A per string
- Connect both strings in parallel → 200V @ 20A total
✅ Use:
- MC4 connectors
- String fuses/breakers
- 10 AWG or thicker solar cable
🔄 Step 4: Select a Charge Controller
A MPPT controller is essential for efficiency.
| Feature | Recommendation |
|---|---|
| Voltage Input | Should match or exceed panel string voltage (e.g., 150V, 250V) |
| Current Rating | Match array output (e.g., 60A, 85A) |
| Brands | Victron, EG4, Renogy, Growatt |
⚡ Step 5: Choose the Right Inverter
The inverter turns your DC battery power into usable AC.
- ✅ Pure sine wave for clean power
- ✅ Size 25–50% larger than your peak load
- 🛠️ Want to expand later? Choose one that supports parallel operation → Example: EG4 6000XP
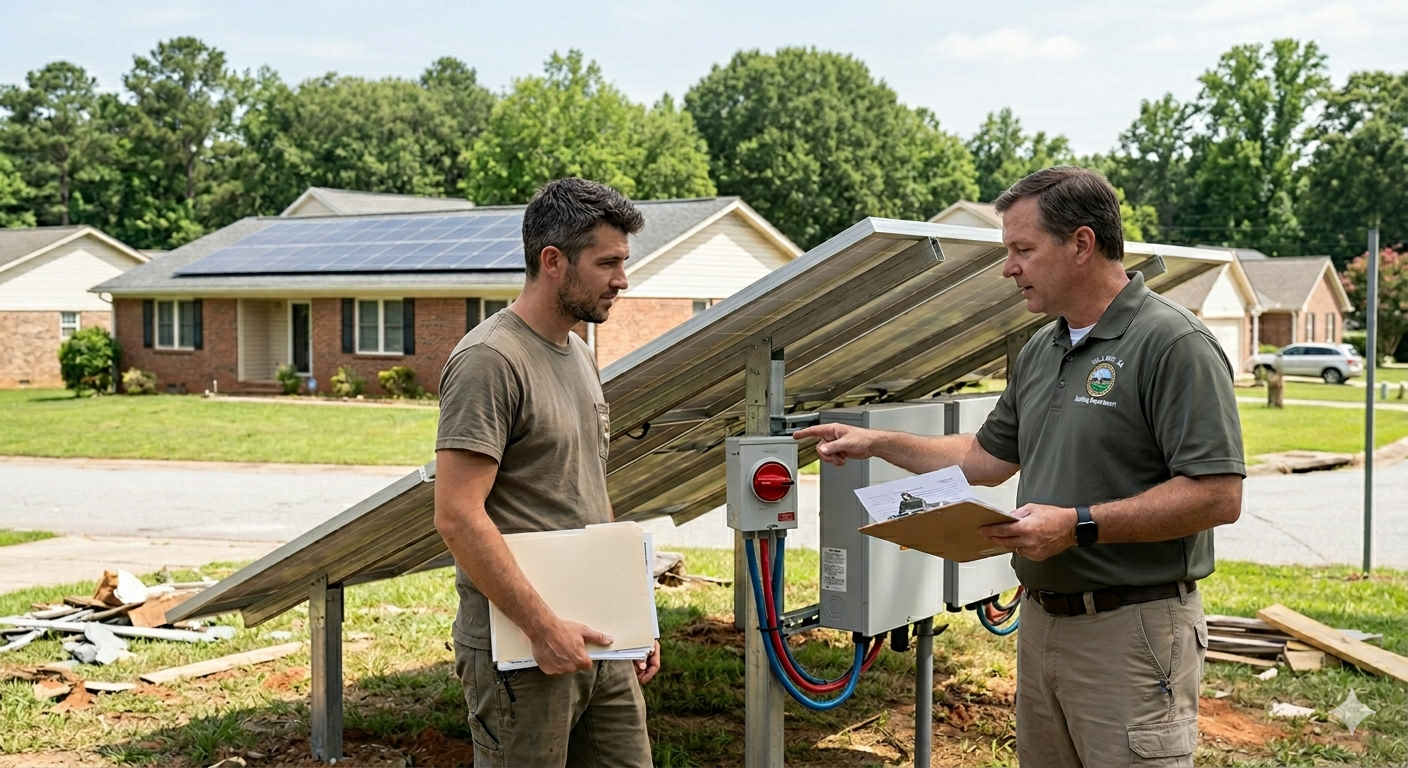
🧱 Step 6: Install Your System
⚠️ Safety First: Turn off all power while wiring.
Installation Checklist:
- Mount solar panels (roof, ground, or adjustable rack)
- Connect to combiner box or MPPT charge controller
- Wire charge controller to battery bank
- Connect inverter to battery
- Wire inverter to AC loads or sub-panel
- Install fuses, breakers, and disconnects
- Ground all components properly
📲 Step 7: Monitor and Maintain
Use monitoring tools to track performance and catch issues early.
| Tool Type | Purpose |
|---|---|
| Battery Monitor | Check state of charge (SOC) |
| Bluetooth Apps | Remote data and alerts |
| Shunt Monitor | Measure current flow accurately |
🧽 Pro Tip: Clean panels and inspect wiring each season.
💰 Estimated Costs
| Component | Estimated Cost |
|---|---|
| 10 × 400W Solar Panels | $2,000 |
| EG4 6000XP Inverter | $1,200 |
| 14.3kWh Battery Bank | $2,800 |
| MPPT Charge Controller | $300–$500 |
| Wiring, Breakers, Misc | $500–$800 |
| Total Estimated Cost | ~$6,800–$7,300 |
🧪 Final Thoughts
A 48V off-grid solar system is an excellent choice for serious DIYers looking to power a home, cabin, or workshop. It offers the performance and scalability needed for real-world use—without reliance on the grid.
💬 Got questions or need help choosing components? Drop a comment! More tutorials and product reviews are coming soon.
Hi, this is a comment.
To get started with moderating, editing, and deleting comments, please visit the Comments screen in the dashboard.
Commenter avatars come from Gravatar.